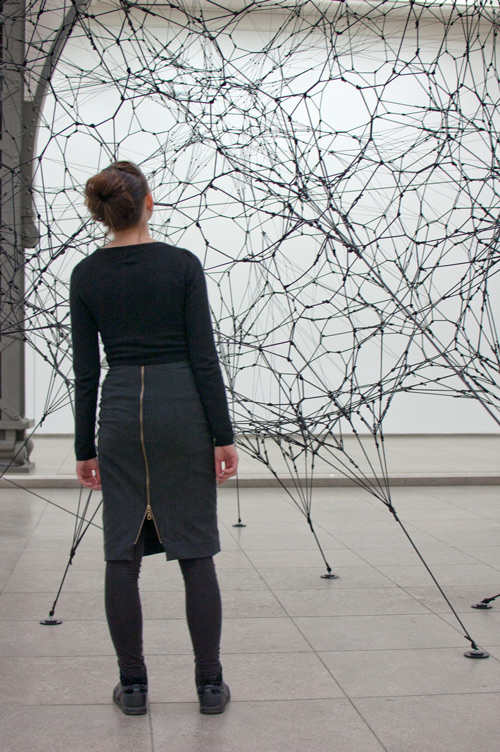
First there was this beautiful sequined jersey I bought some time ago. I always knew that it should become a skirt. After some research and several nightmares I read about sewing sequined fabric I decided that it has to have no more seams than absolutely necessary. My fabric has metal sequins. I was afraid that they would kill everything that touches them… needles, blades, scissors. I found this tutorial on a single seam skirt made after your own measurements. Perfect. So I drafted the pattern, cut my fabric, removed the sequins from the seam allowance and stitched it together. Well…I added some centimetres for the hem on top and bottom. But I forgot to add the actual seam allowance to the centerbackseam. It could have worked since my fabric is a knit with a good amount of stretch. But the thread that holds the sequins isn’t elastic. I would not declare myself beaten that fast. I ripped the seam for about 10 cm from the top so I could get into the skirt and sewed some hook and eye closures to it. Since the skirt got quite tight without the proper seam allowance, they held the skirt together but you could see my skin in the spaces between them. Finally I found a small zipper I had removed from some old pants. I sewed it in by hand. First because zippers on jersey tend to get wavy and second because I didn’t want to have to remove so many sequins again. After I knew that I could actually wear this skirt I invested some time in sewing the waistband and the hem by hand. For the hem I used the un-sequined selvage of the fabric. So the sequines wouldn’t stick to tights I will possibly wear with the skirt when it’s colder.
The actual cause for finally starting to sew the skirt was the invitation to a wedding. Because I couldn’t attend the event just wearing a skirt I had to make a matching top. It was not going to be made of the sequined fabric too. That would have been to many sequins (and to much work 😉 ). I chose a lightweight jersey from my stash. I used it before for one of my hi-low dresses.I wanted something simple with only a little bit of sparkle. Therefor I drafted this V-neck top. It’s the same in the front and back (the advantages of having small boobs). The sparkle comes from a necklace I attached at the shoulders and in the center with some stripes of the same fabric. I had this plan before I had the necklace… I wanted it to be rosegold to match the skirt and the sequins. The desired colour limited the number of choices. Almost out of despair I bought a necklace at H&M that had several rosegold strings held by one closure. My plan was to remove some strings to make it look lighter. When trying to loose them from the closure I realised that each string was made of little elements that hold each other like the fingers of a hand. That way I could have one necklace and adapt it to my desired length by joining two strings to one. I almost did a little happy dance.

I even managed to make a little pouch out of the very few remnants of the fabric. It’s just a tiny sack with another part of the necklace as the handle.
Later this year there was another wedding invitation. Since it wasn’t that warm anymore and because I decided that it might be better to cover the areas where the skirt sits a bit too tight, I made another top. The fabric is a goldish shiny jersey. Not the best quality as I discovered while sewing it, but it matched the skirt and it was cheap. The pattern is a peplum top from Burda (#114 08/2012) I made it before as a top and twice lengthened to a dress (1, 2) I shortened the front of the peplum to show more of the skirt. Because I’m short I have to be aware of proportions to not look like a dwarf as much. Again I didn’t use the original sleeve. I used the one from my last Burda easy dresses ( like here: 1, 2, 3 and 4). I just like the little pleat in this place.
Meanwhile I wear the top more often than the skirt. I pair it with tight black pants and a cheetah printed head scarf.
This is a shot from the wedding photographer. I don’t have a name or contact to link to. But this picture is her work and she did a great job on this day. It is also nice to show you some details. The pleat on the sleeve, the necklace that I made out of the remnants from the first top’s necklace and the headband I covered in the sequined fabric to match the skirt. It such an easy hairdo. Just tucking your hair around the head band and securing it with some bobby pins.
Doesn’t I just look like I belong to this villa in the countryside back in the 1930ies 😉
My Christmas outfit makes progress. I finished two of three garments. Plaid flanell is involved in everyone of them 🙂 Meanwhile the latest issue of the magazine “La Maison Victor” arrived and I can start with the last one.
How is it going with your festive sewing?


